
This guide helps visitors connect to the CEIBS-WiFi6 wireless network on campus.
Applicable for Windows 10/11
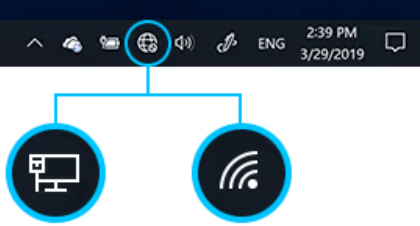
- Click the wireless connection icon in the taskbar at the bottom right of the screen (it displays a globe icon when there is no network connection).
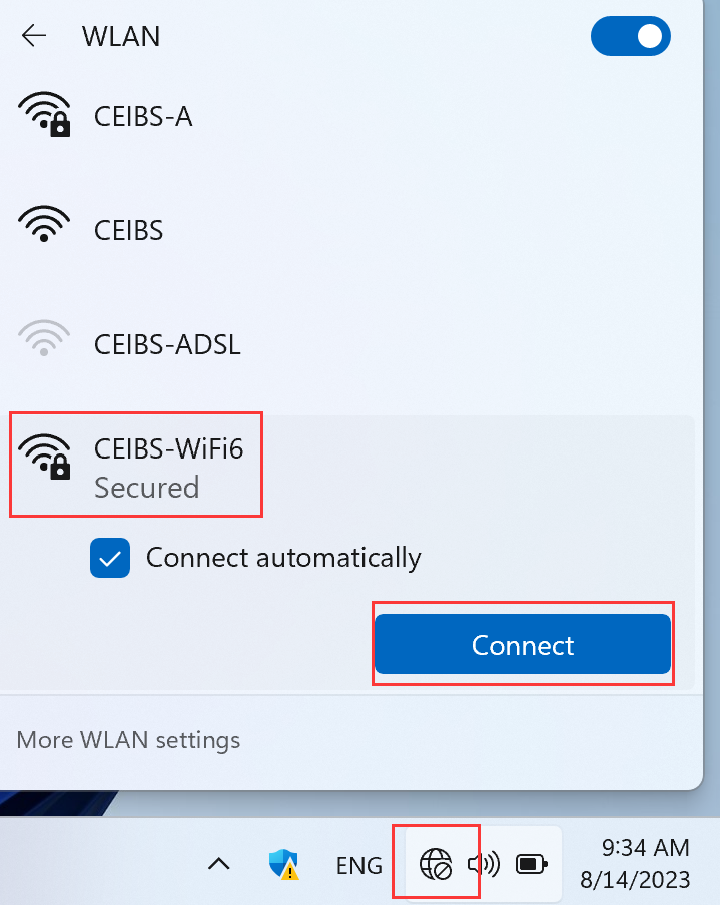
- Choose CEIBS-WiFi6 and click Connect (Check Connect automatically is recommended).
- Enter your CEIBS account as the User name and enter your password, then click OK.

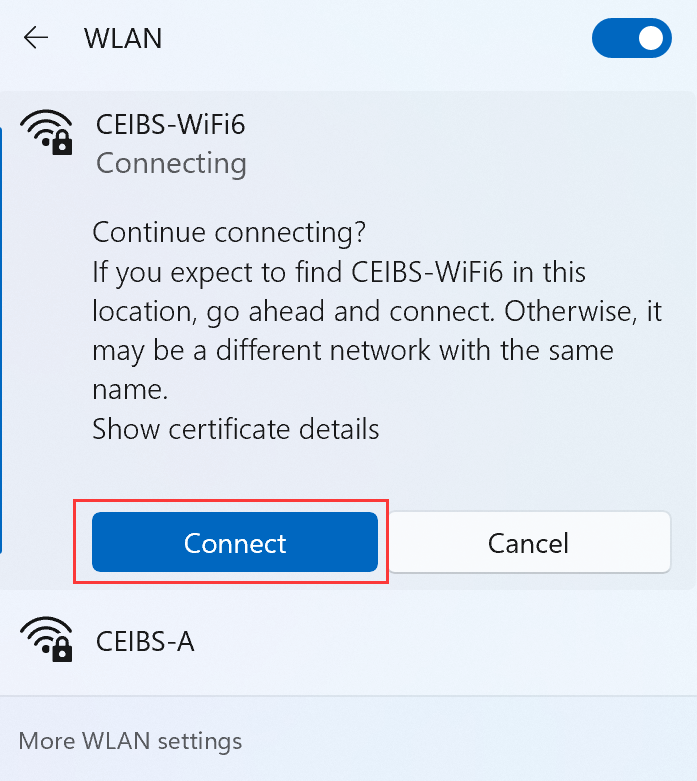
- Prompt: Continue connecting, click Connect to complete.
- Setup complete.
Note:
It is recommended that everyone switch to the CEIBS-WiFi6 network. If you have previously connected to the CEIBS-A network, please remove the CEIBS-A connection to enjoy the new Wi-Fi 6 experience.
The steps to remove the CEIBS-A wireless connection are as follows:
- Click the wireless connection icon in the taskbar at the bottom right of the screen.
Note: Windows 11 requires an extra click on the small arrow to the right of the wireless connection icon.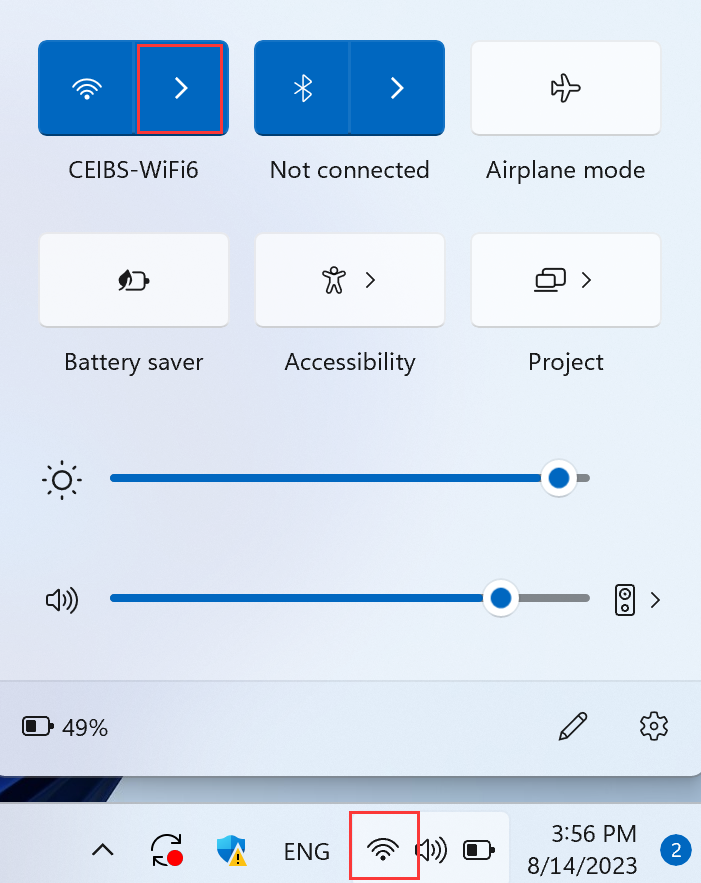
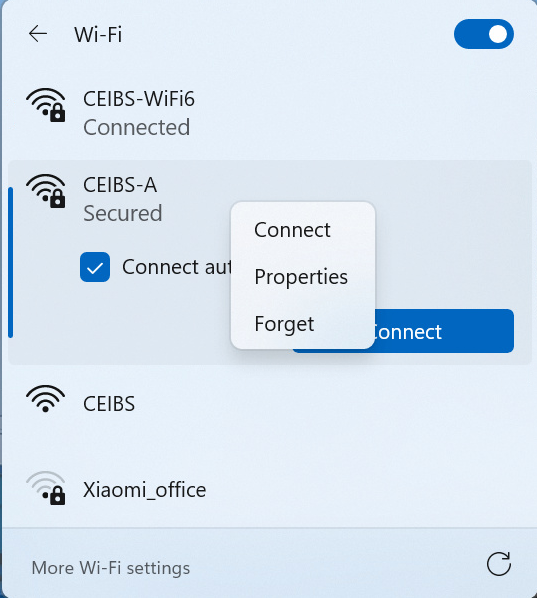
- Right-click CEIBS-A and select Forget.
- Setup complete.